

In recent years, Artificial Intelligence (AI) has rapidly evolved, revolutionizing industries and transforming everyday life. At its core, AI involves creating systems capable of performing tasks that typically require human intelligence, such as understanding natural language, recognizing images, and making decisions. A critical component of AI is Machine Learning (ML), a process by which machines are trained to learn from data. Through machine training, models are exposed to extensive datasets, enabling them to identify patterns, make predictions, and improve their accuracy over time. This learning capability allows AI systems to adapt to new situations and enhance their performance without requiring explicit programming for each specific task. As a result, AI and ML have become pivotal in developing intelligent applications across various domains, from healthcare to finance, and beyond.
Data Pre-Processing and Preparation — What Is RobowFlow ?

Roboflow simplifies the entire process of creating and annotating custom datasets, making it accessible even to those with limited technical experience. By following these steps, you can efficiently prepare high-quality datasets tailored to your specific project needs, enabling more accurate and effective model training. Whether you’re working on a small personal project or a large-scale enterprise application, Roboflow’s tools and features can streamline your workflow and improve your results.
Creating and annotating custom datasets for machine learning projects is a crucial step, especially for tasks like image classification, object detection, and semantic segmentation. Roboflow is a powerful tool that simplifies the process of creating, annotating, and managing datasets. Here’s a step-by-step guide to creating custom datasets and annotating them using Roboflow:
1. Collecting Data
The first step is to collect the data you want to use for training. Depending on your project, this could involve:
- Capturing Images: Take photos using a camera or smartphone.
- Web Scraping: Use scripts to collect images from the web.
- Public Datasets: Download images from existing datasets that match your use case.

2. Preparing Your Data
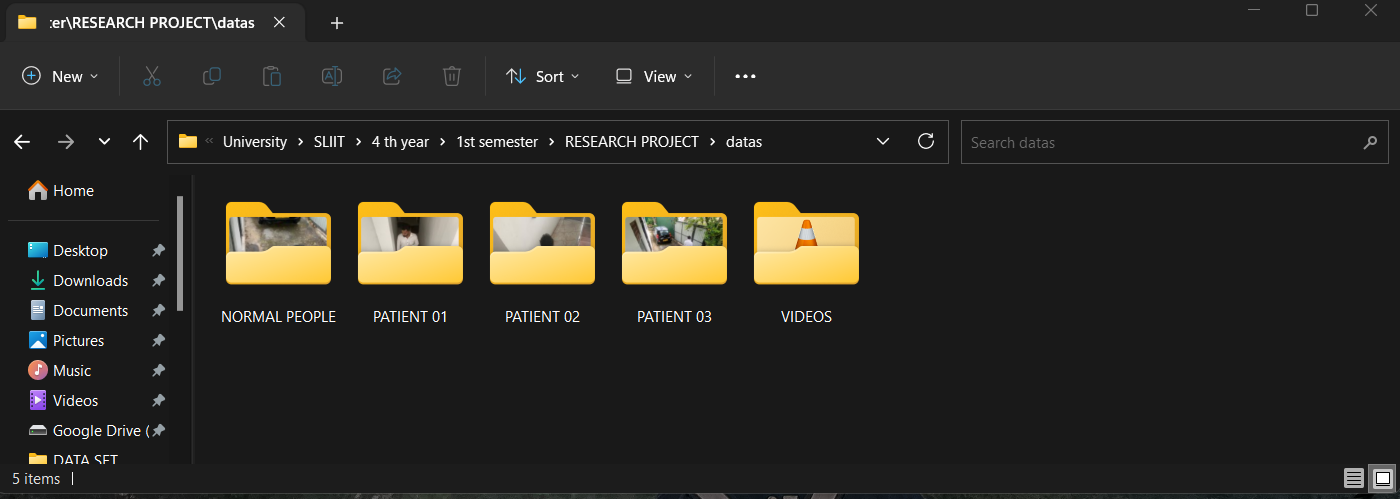
Before uploading your data to Roboflow, organize your images in a structured way. For example, you might have different folders for different classes if you’re working on a classification task. For object detection, ensure that your images are clearly labeled and that the objects of interest are well captured.
3. Uploading Images to Roboflow
- Create an Account: Go to Roboflow and sign up for a free account.
- Create a New Project: Once logged in, click on “Create New Project” and specify the type of project (e.g., Object Detection, Image Classification, Semantic Segmentation).
- Upload Images: After creating the project, you’ll have the option to upload images. You can drag and drop images or select them from your file system.

4. Annotating Images
Annotation is the process of labeling the data so that your model can learn from it. Roboflow provides an intuitive interface for annotating images.
- Select an Image: Click on an image from your dataset to start annotating.
- Draw Bounding Boxes (for Object Detection): For object detection projects, use the bounding box tool to draw boxes around objects. Label each box with the corresponding class name.
- Class Labels (for Classification): For image classification, label each image with the appropriate class name.
- Segmentation Masks (for Semantic Segmentation): For segmentation tasks, draw masks over the relevant areas of the image and assign them to specific classes.

5. Managing and Reviewing Annotations
After annotating your images, it’s essential to review the annotations for accuracy. Roboflow allows you to manage and edit your annotations easily. You can:
- Edit Annotations: Click on an image to adjust the bounding boxes, labels, or masks.
- Delete Annotations: Remove incorrect annotations.

6. Data Augmentation and Preprocessing
Roboflow offers various data augmentation and preprocessing options to enhance your dataset. These can include:
- Rotation: Rotate images by a certain angle.
- Flip: Flip images horizontally or vertically.
- Brightness and Contrast Adjustments: Modify the brightness and contrast.
- Cropping and Resizing: Crop and resize images to fit the model’s input requirements.


7. Exporting the Dataset
Once your dataset is fully annotated and augmented, you can export it in various formats compatible with popular machine learning frameworks like TensorFlow, PyTorch, YOLO, etc.
- Export Options: Click on “Generate” to choose export options. Select the format that matches your chosen framework (e.g., COCO JSON, YOLO Darknet TXT, Pascal VOC XML).

- Download the Dataset: After selecting the format, download the dataset to your local machine.

8. Using the Dataset
With the dataset prepared and exported, you can now use it to train your machine learning models. Import the dataset into your chosen framework and begin the training process.
Model Training Using Collab Notebooks and Custom Datasets

Model Training Using Collab Notebooks and Custom Datasets
In recent years, the popularity of machine learning and artificial intelligence has surged, leading to the development of various platforms and tools that facilitate model training and experimentation. One such platform is Google Colab(short for Colaboratory), a cloud-based service that offers free GPU and TPU resources, making it an ideal environment for data scientists and machine learning enthusiasts to train models efficiently. This article explores the process of model training using Colab notebooks and custom datasets, highlighting the benefits and steps involved.
What is Google Colab?
Google Colab is an online platform that provides a Jupyter notebook-like interface. It allows users to write and execute Python code in a browser, offering the advantage of cloud computing resources. Colab is particularly popular for its ease of use, collaboration features, and access to powerful hardware, such as GPUs and TPUs, without any additional cost.
Why Use Custom Datasets?
While numerous pre-existing datasets are available for training machine learning models, there are scenarios where a custom dataset is more suitable. Custom datasets allow for more specific and tailored model training, addressing particular problems or business needs. For instance, a company may have proprietary data that needs to be analyzed, or a researcher might collect unique data for a specialized study. Custom datasets provide flexibility and specificity, making them valuable in real-world applications.
Setting Up the Environment
To begin training a model using a custom dataset in Colab, follow these steps:
- Create a New Colab Notebook: Start by creating a new notebook in Google Colab. You can do this by visiting Google Colab and clicking on “New Notebook.”
- Accessing Hardware Acceleration: Colab offers access to GPUs and TPUs, which significantly speed up the model training process. To enable hardware acceleration, go to the “Runtime” menu, select “Change runtime type,” and choose either “GPU” or “TPU” as the hardware accelerator.
- Import Necessary Libraries: Import essential libraries such as TensorFlow, Keras, PyTorch, pandas, and others depending on the framework and tools you intend to use.
import tensorflow as tf
from tensorflow import keras
import numpy as np
import pandas as pd
4. Loading Custom Datasets: Custom datasets can be uploaded to Colab in several ways:
- Direct Upload: Colab allows you to upload files directly from your local machine.
- Google Drive: You can mount your Google Drive and access files stored there.
- External URLs: If your dataset is hosted online, you can download it using libraries like
requestsorwget.
from google.colab import drive
drive.mount(‘/content/drive’)
data = pd.read_csv(‘/content/drive/My Drive/dataset.csv’)
5.Data Preprocessing: Before training, the dataset often requires preprocessing. This may include tasks such as data cleaning, normalization, augmentation, and splitting the data into training and testing sets.
# Example of data normalization
data = data / 255.0
Model Training and Evaluation
Once the data is preprocessed, you can proceed with defining and training your machine learning model.
- Model Definition: Define your model architecture. Depending on your use case, you can choose from a wide range of models, including convolutional neural networks (CNNs), recurrent neural networks (RNNs), or fully connected neural networks.
model = keras.Sequential([
keras.layers.Flatten(input_shape=(28, 28)),
keras.layers.Dense(128, activation=’relu’),
keras.layers.Dense(10, activation=’softmax’)
])
2.Compilation: Compile the model by specifying the optimizer, loss function, and metrics.
model.compile(optimizer=’adam’,
loss=’sparse_categorical_crossentropy’,
metrics=[‘accuracy’])
3. Training: Train the model using the training dataset. Colab allows you to monitor the training progress with visualizations such as loss and accuracy graphs.
model.fit(train_images, train_labels, epochs=5)
5.Evaluation: After training, evaluate the model’s performance on the testing dataset to ensure it generalizes well to unseen data.
test_loss, test_acc = model.evaluate(test_images, test_labels)
print(‘Test accuracy:’, test_acc)
Collaboration and Sharing
One of the standout features of Colab is its collaboration capabilities. Multiple users can work on the same notebook simultaneously, making it easier to share insights and collaboratively develop models. You can also share notebooks via links, allowing others to view or edit them.
Conclusion
Google Colab is a powerful tool for training machine learning models, especially when using custom datasets. Its cloud-based infrastructure, access to powerful hardware, and user-friendly interface make it an excellent choice for both beginners and experienced practitioners. By following the steps outlined in this article, you can efficiently train and evaluate models, leveraging the full potential of your custom data. Whether you’re conducting research, developing a product, or simply learning, Colab offers a versatile and accessible platform for your machine-learning projects.
Some Example Screenshots according to the final Research of my university


